Manufacturer’s web site: http://www.xrite.com/product_overview.aspx?ID=1454
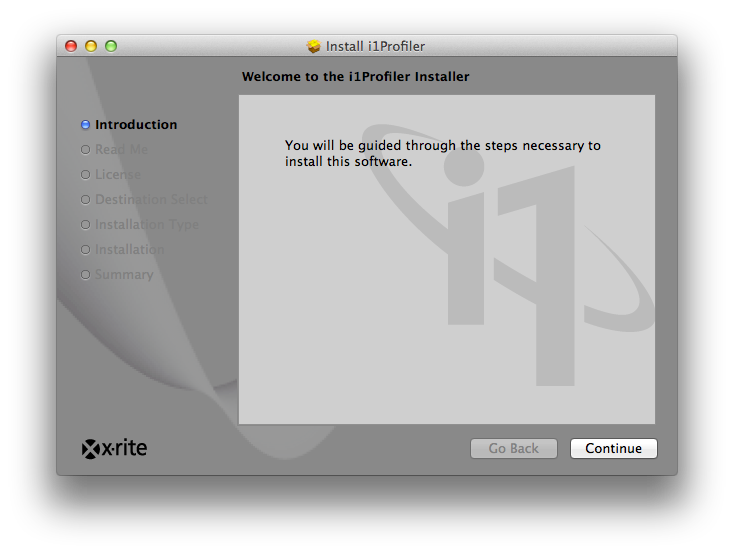
Forget the CD that comes with the calibrator, instead go to the manufacturer’s support page for the latest version of the software. In this case http://www.xrite.com/product_overview.aspx?ID=1454&Action=Support – download i1ProfilerSetup.exe and install it by double-clicking on the file.
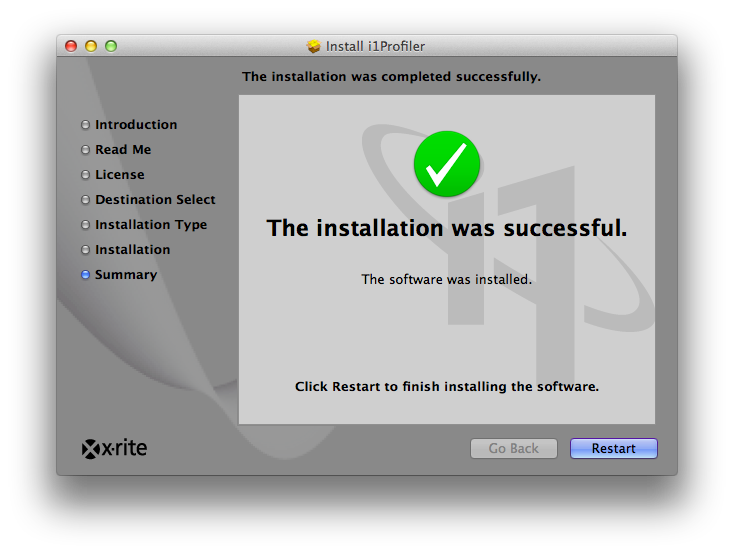
After installation is done, you may need to reboot the computer. After everything is done. go ahead and run “i1Profiler” from Start -> All Programs -> X-Rite – i1Profiler
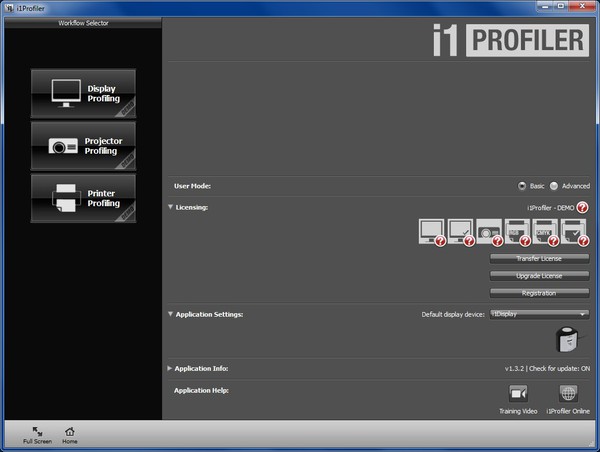
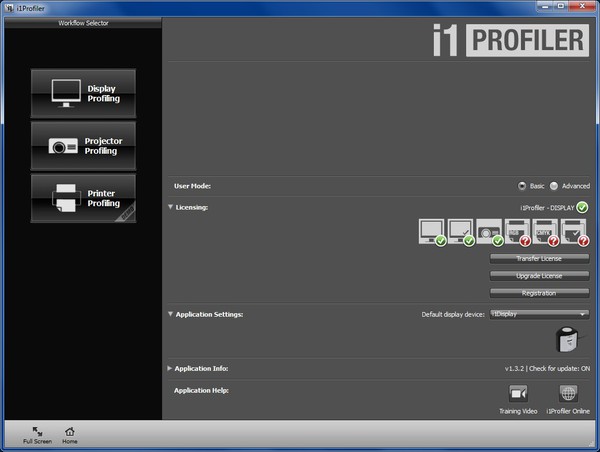
Notice that there is “DEMO” stripe on all of the Workflow on the left column – Display Profiling, Projector Profiling and Printer Profiling and also the question mark on all of the items under the Licensing section on the right side.
Now, go ahead and plug in the i1Display Calibrator to any available USB port then the “DEMO” stripe will be gone from Display Profiling and Projector Profiling and also both monitors and projector under the Licensing section are now with green check mark.
Let’s switch to “Advanced” mode : check on the “Advanced” radio button on “User Mode” on the right-hand column:
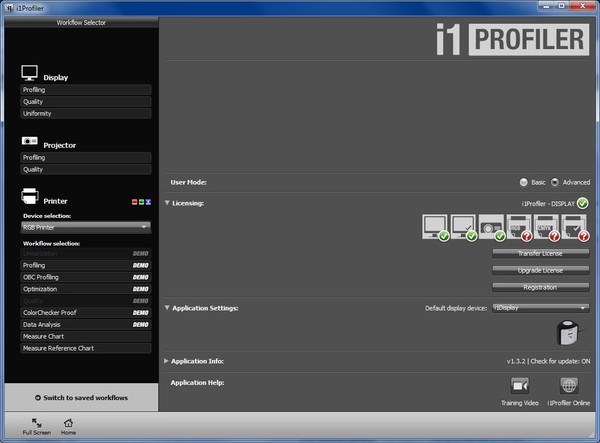
Under “Workflow” on the left-hand column, under “Display” section, click on “Profiling”
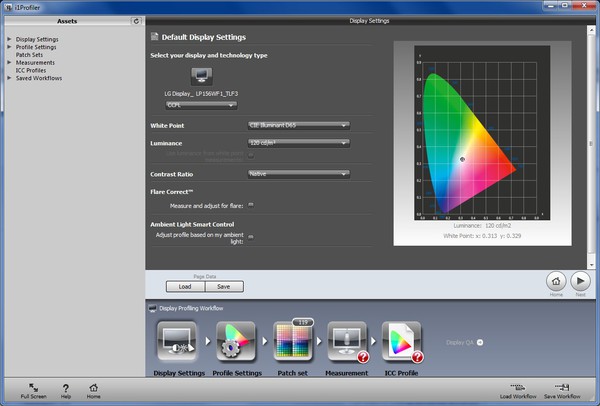
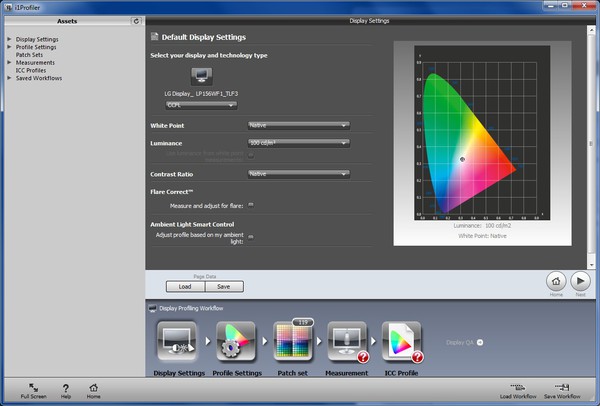
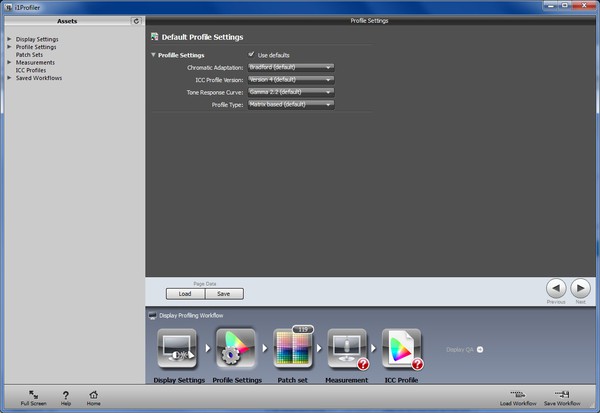
In the “Display Settings” on the right-hand side, change parameters as the flowing:
Default Display Settings: leave it as is, it probed what type of screen you have and selected the technology type automatically. On my laptop, it knows that it is LP156WF1_TLF3 and selected CCFL for me, which is correct.
White Point: Native
Luminance: 100 cd/m2
Contrast Ratio: Native
Flare Correct: un-checked
Ambient Light Smart Control: un-checked
Now, click on “Next” button.
Click on “Next” button again:
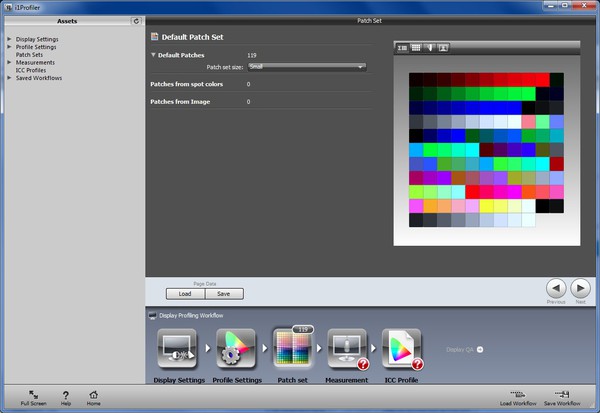
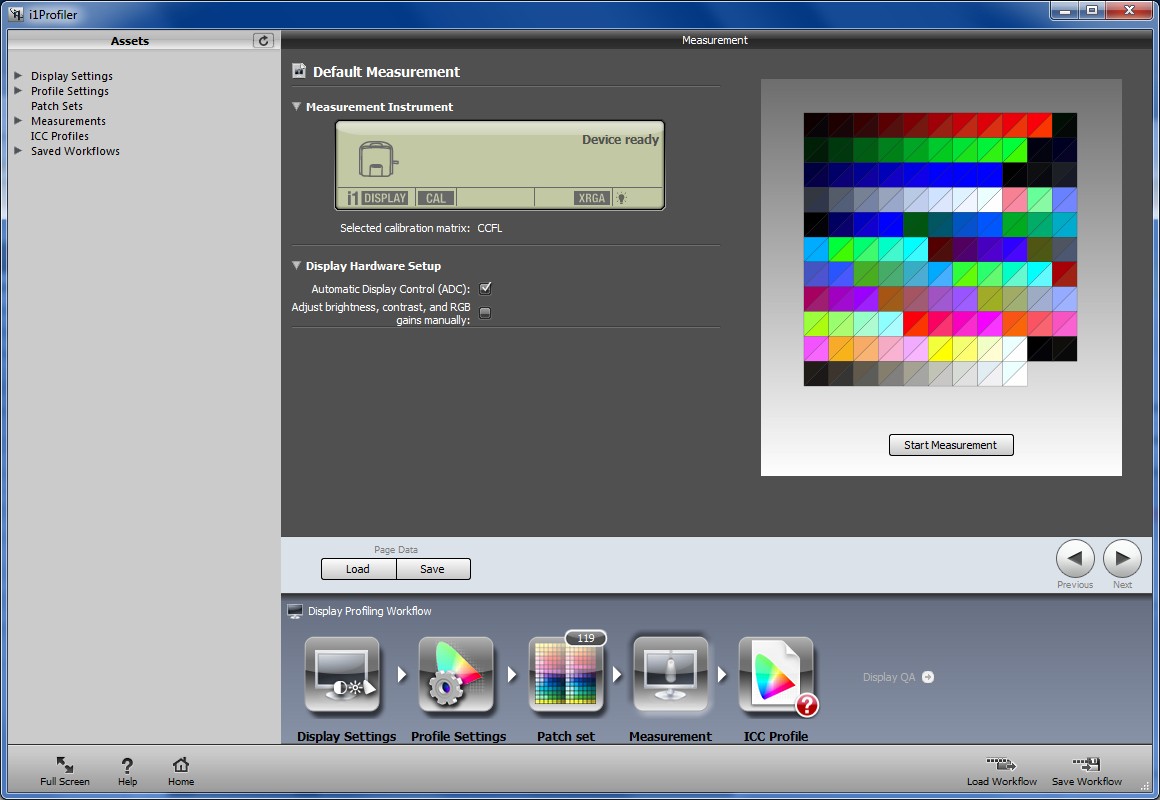
Click on the “Next” Button on to the “Measurement” screen:
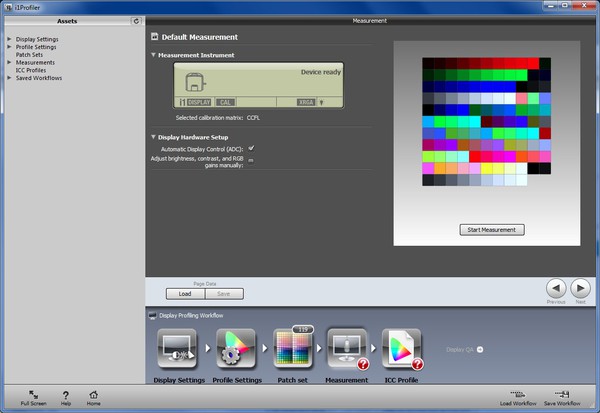
Click on the “Start Measurement” square button under the color pallets:
X-Rite’s Automatic Display Control(ADC) will try to adjust the luminance and contrast on your display. Some of the monitors/laptops, this will work and it will automatically proceed onto the color measurements but if it cannot perform ADC, it will ask you to manually adjust the luminance and the following a few more steps are required.
Follow the instructions on the screen.
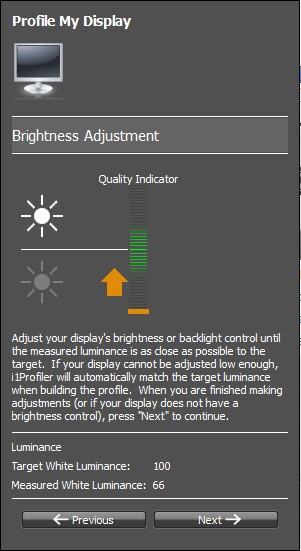
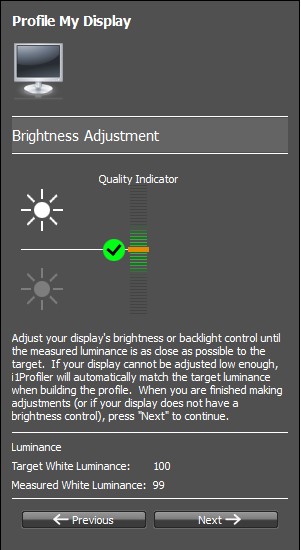
It will perform the Brightness Adjustment and shows the Luminance of your monitor, adjust your brightness so it will be as close as the Target White Luminance(100) then click on Next button.
It will start displaying different colors with different shades to measure the display performance. This will take a few minutes.
After the color measurements are done, it will perform the ambient light measurement. Just follow the instructions on the screen.
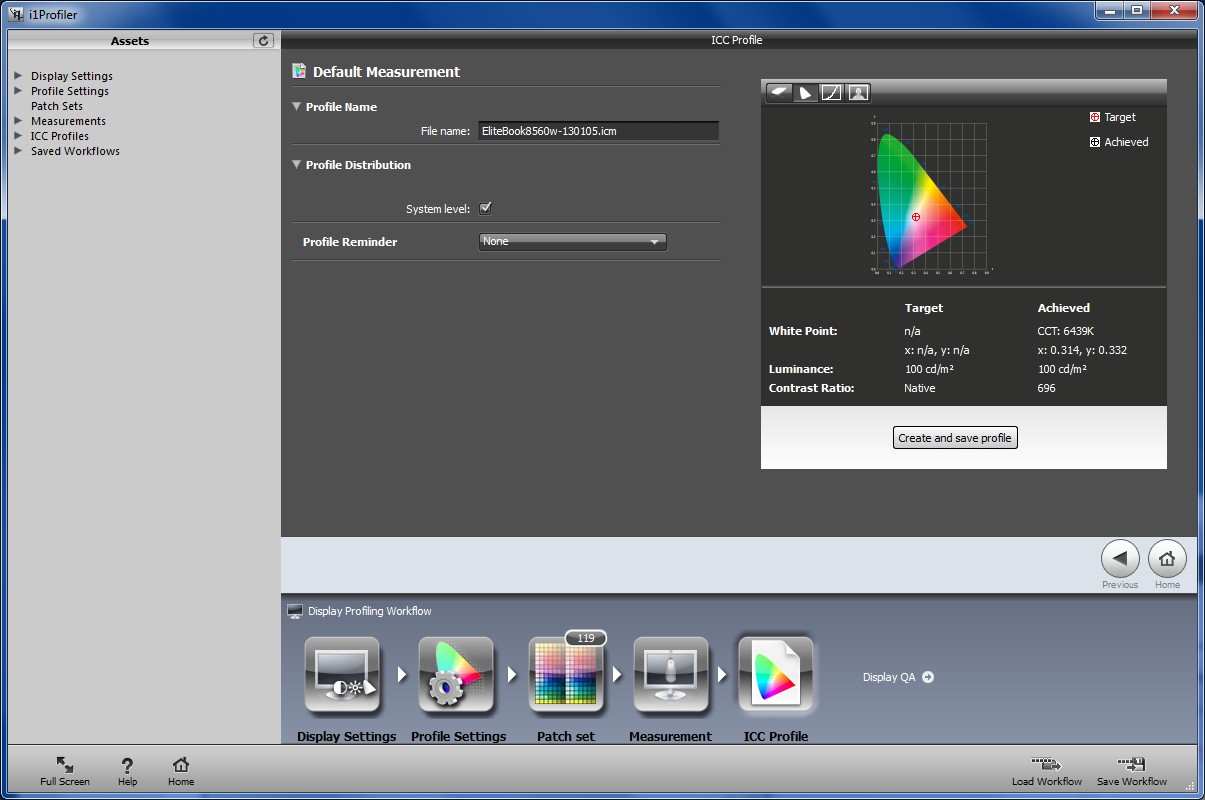
Click on the Next button and go onto the “ICC Profile” screen:
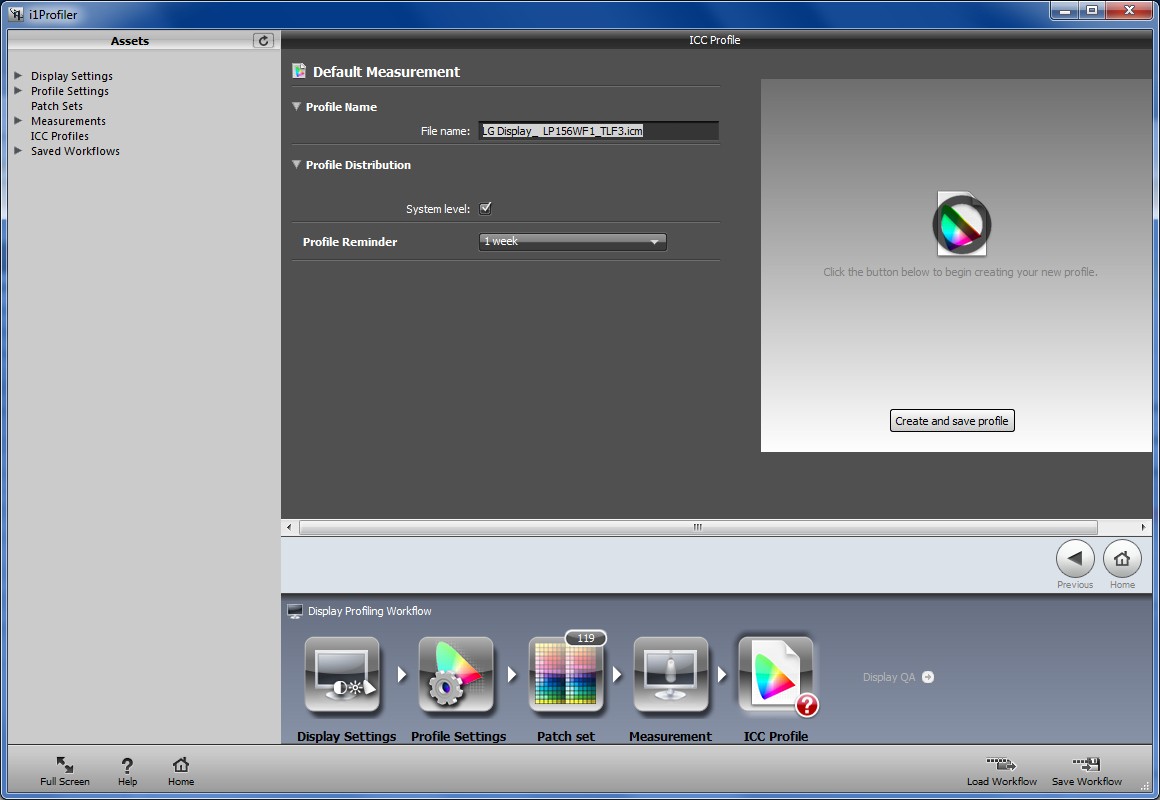
Here, we are going to give a name to the ICC Profile that was just measured. In my case, it named it as “LG Display_ LP156WF1_TLF3.icm” which does not make much of a sense. Let’s name it with model of the monitor with the today’s date so we know when this ICC Profile was created, e.g. “EliteBook8560w-130105.icm”
Choose “None” on the “Profile Reminder”
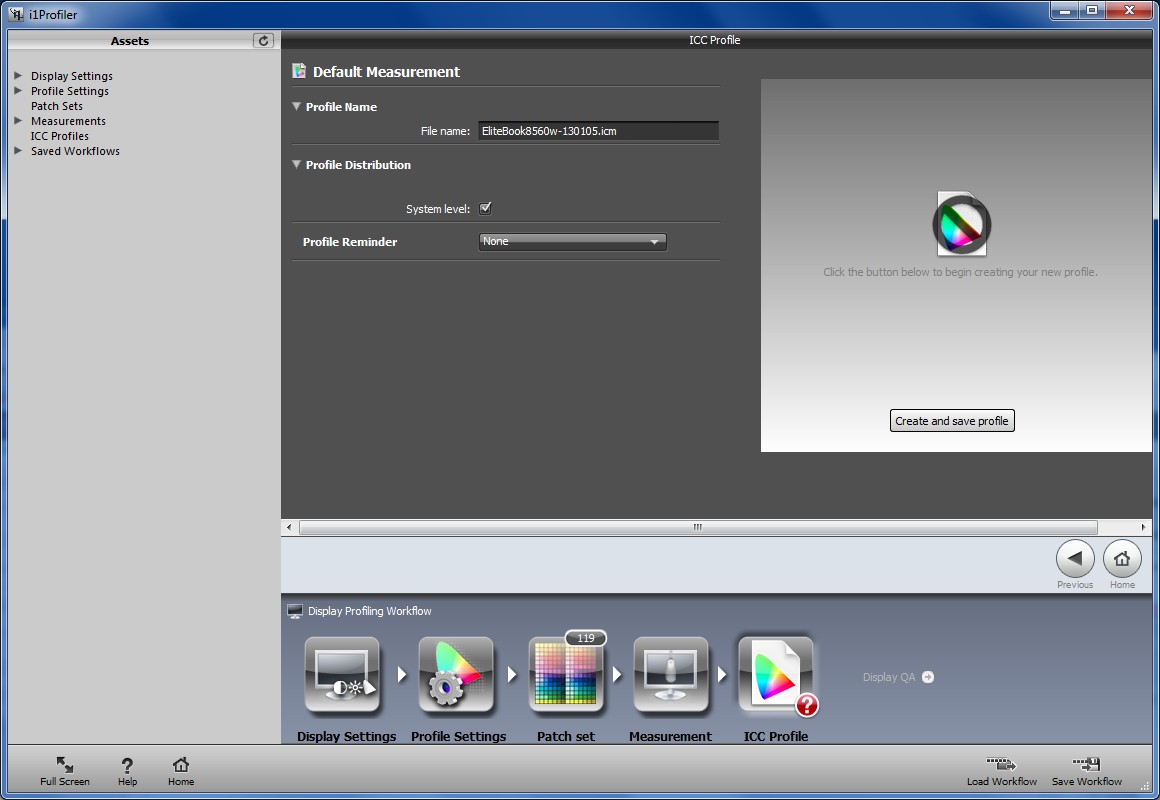
Now, click on the “Create and save profile” square button on the right.
Now click on the “Home” button.
That’s it!!! You are now successfully calibrated your monitor and created adjusted ICC Profile.
References:
http://people.csail.mit.edu/ericchan/dp/Epson3800/printworkflow.html#display_calibration
This is based on the previous model of X-rite/GretagMacbeth i1 Display 2 but worth to read.
http://dummyfactory.net/root_main/exposure/i1display2/i1display2.htm
Another very detailed article on X-rite/GretagMacbeth i1 Dispaly 2.
http://dummyfactory.net/root_main/exposure/exposure.htm
Reference on Datacolor Spyder 4 Elite.